
Retouch Portrait Photos Like a Pro
Welcome to our blog, where we share tips and tricks on retouching portrait photos like a pro! Today, we will walk you through a simple yet effective workflow that includes a custom “Quick Retouch” action, frequency separation, and dodging and burning techniques. This process will help you achieve amazing results in no time. Let’s dive in!
Quick Retouch Action
The first step in our retouching process is to apply the “Quick Retouch” action in Photoshop. This action applies adjustments that enhance the skin, remove the background, create dodge and burn layers, and smooth out the skin. To use this action, select it from the actions panel and click play. Within seconds, your photo will be significantly improved. The difference between the before and after is remarkable!
Frequency Separation
We recommend using the frequency separation technique for clients who desire a polished, professional look. This method allows you to separate texture and colour, working on them independently to achieve a smooth, even, and natural appearance.
To perform frequency separation, duplicate the layer twice, naming them “Low Frequency” and “High Frequency”. Apply a Gaussian blur filter to the low-frequency layer to remove the texture, then change the high-frequency layer’s blending mode to linear light. Apply an image filter with these settings: layer: low frequency, channel: RGB, blending: subtract, scale: 2, offset: 128. This will create a grey layer containing only texture information.
Now you can work on each layer individually. Use a soft brush with low opacity and flow on the low-frequency layer to paint over any colour variations or shadows. Use the healing brush or clone stamp tool on the high-frequency layer to remove any spots or wrinkles.
Dodging and Burning
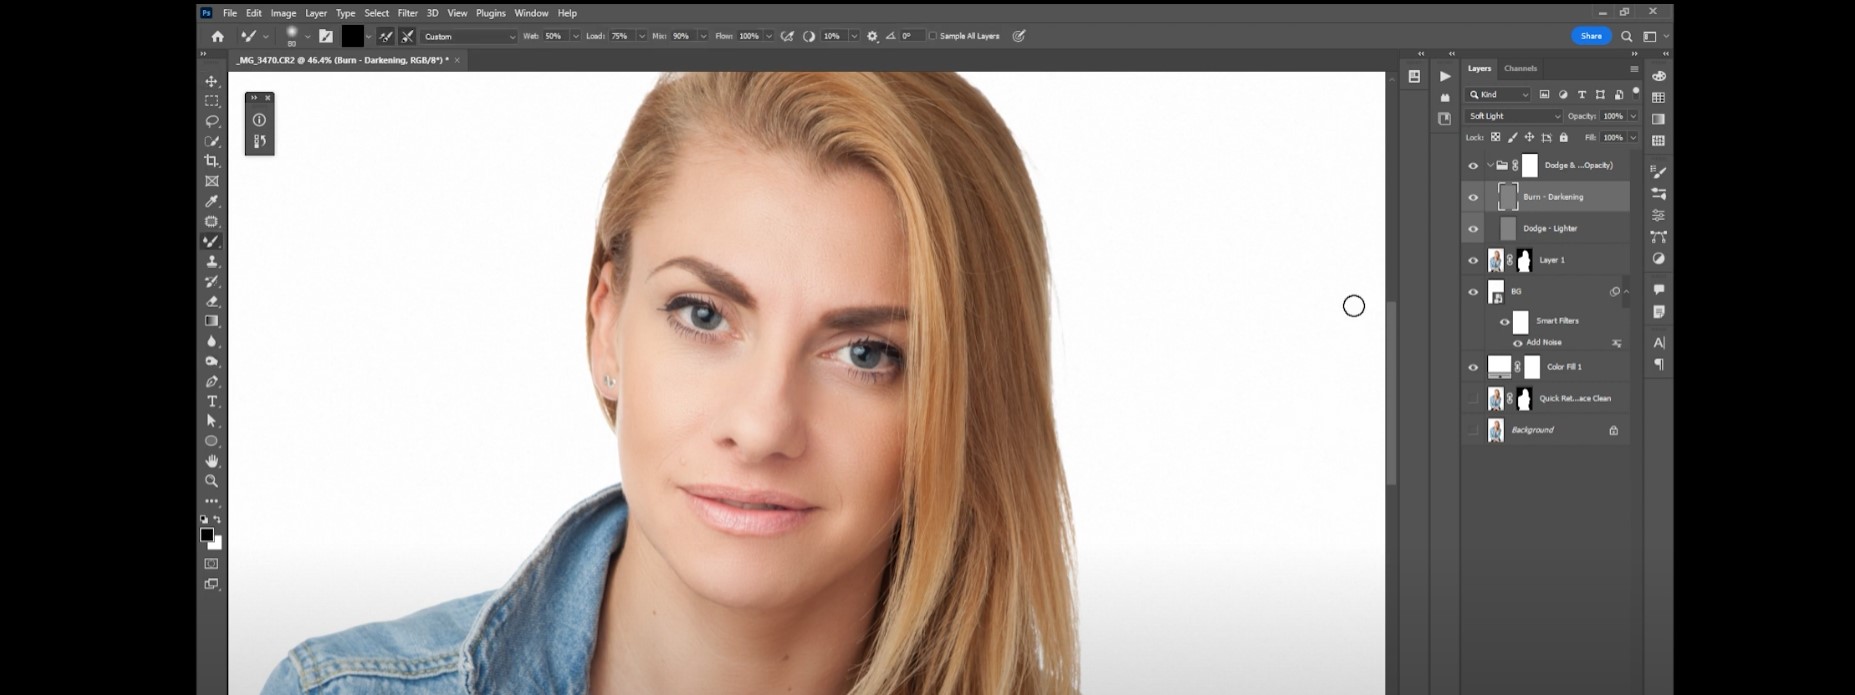
To add the final touch to your portrait photos, apply dodging and burning techniques. This method involves lightening and darkening specific photo areas to create depth and dimension and accentuate facial features.
First, create two new layers, “Dodge” and “Burn”. Fill them with 50% grey and change their blending modes to overlay. This will make them invisible until you paint them white or black.
Use a soft white brush with low opacity and flow on the dodge layer to paint over areas you want to highlight, such as the eyes, nose, cheekbones, and lips. Use a soft black brush with low opacity and flow on the burn layer to paint over areas you want to darken, such as shadows under the eyes, nose, and chin.
Final Thought
Using our quick retouch action, frequency separation, and dodging and burning techniques, you can easily retouch portrait photos and achieve professional results. We hope you enjoyed this tutorial and found it helpful. Don’t forget to subscribe to our blog for more tutorials like this one, and feel free to share your thoughts and experiences in the comments below. Happy retouching!
-
Innovative way of creating video content for your brand.
-
Retouch Portrait Photos Like a Pro: Quick Photoshop Retouch Action Download
-
Revolutionizing the Creative Industry: How AI is Disrupting and Empowering the Future